
Have you ever tried to mount a rifle scope only to find your shots landing nowhere near where you intended? Or maybe you’re transitioning from iron sights to a riflescope for the very first time and feel unsure about where to begin. Perhaps you’ve never had someone show you how to use a gun, and now it’s suddenly up to you to figure it all out. Whatever your situation, mounting a rifle scope can seem overwhelming, especially if you just bought your first riflescope or you’re new to shooting in general. But don’t worry—with the right tools and clear steps, you’ll have your rifle dialed in and ready to go. This guide will walk you through how to mount a rifle scope, ensuring optimal accuracy and performance for your setup.
Tools You’ll Need to Mount a Rifle Scope
- Torque wrench
- Screwdriver set
- Gun vise or rest
- Leveling kit
- Thread locker aka Loctite (optional)
- Cleaning supplies (degreaser and cloth)
Step 1: Safety First When Mounting a Rifle Scope
Before you begin, ensure your firearm is unloaded. Double-check the chamber and magazine, and keep the muzzle pointed in a safe direction throughout the process. Safety is non-negotiable.
Step 2: Prepare Your Rifle for a Scope
The mounting surface of your rifle is the flat area of the rifle’s receiver on which the scope base will be attached. Clean it with degreaser to help eliminate any oil or residue that could prevent a secure fit between the scope base and the rifle’s receiver. Once the surface is clean, place the rifle in a gun vise to hold it securely in place. Ensure that the surface your gun vise is resting on is completely level; if it isn’t, you may encounter problems with your leveling kit later on. This step is crucial to achieving proper alignment and ensuring a secure fit between the scope base and the rifle’s receiver.
Step 3: Install the Base on Your Rifle
If your rifle doesn’t already have a mounting base, install one. While most modern sporting rifles come equipped with Picatinny rails on their receivers, other firearms, such as certain shotguns, repeating rifles, bolt-action rifles, and non-AR platform rifles, may require additional work. Some of these firearms need mounts installed, while others might require drilling and tapping at a gunsmith to accommodate a base. The AK-47, for example, has an odd side mount, while older military surplus rifles almost always require drilling and tapping (although no small amount of gun owners would cringe at this). This process ensures that your optic has a secure and reliable foundation, no matter the type of firearm you are using. Common options include Picatinny or Weaver rails. Align the base with the receiver and secure it using base screws. Use a torque wrench to tighten the screws to the manufacturer’s recommended torque settings, usually around 20-25 inch-pounds. Avoid overtightening, as this can damage the screws or receiver.
Pro Tip: Apply a small amount of blue Loctite (a medium-strength thread locker) to the screws to prevent them from loosening over time due to recoil.
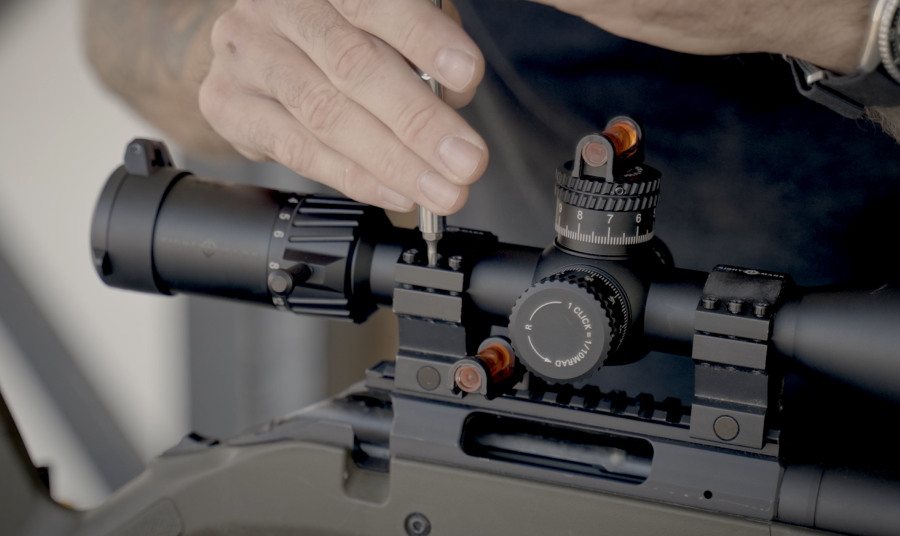
Step 4: Attach the Scope Rings
Choose scope rings that match your scope tube’s diameter and desired height. The scope should sit as low as possible without touching the barrel or interfering with bolt operation. This improves your cheek weld and overall accuracy.
Secure the lower halves of the rings to the base, ensuring they are aligned and level. Tighten the screws snugly but not fully until you’ve placed the scope.
Step 5: Position the Rifle Scope
Place the scope in the lower halves of the rings. Adjust its position for proper eye relief—the distance between your eye and the scope’s lens. Most scopes have an eye relief of 3-4 inches. Ensure you can see a full, clear image without straining your neck or moving awkwardly.
Adjust the scope’s forward placement to ensure the reticle (crosshairs) is level when you shoulder the rifle. Use a bubble level on the scope’s turret cap to check alignment.
Step 6: Secure the Scope in the Rings
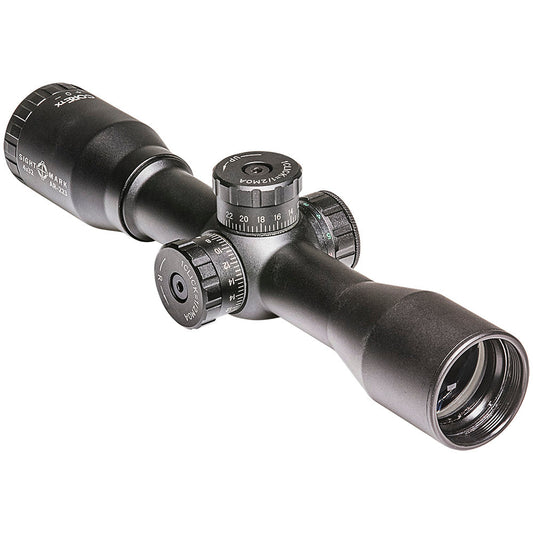
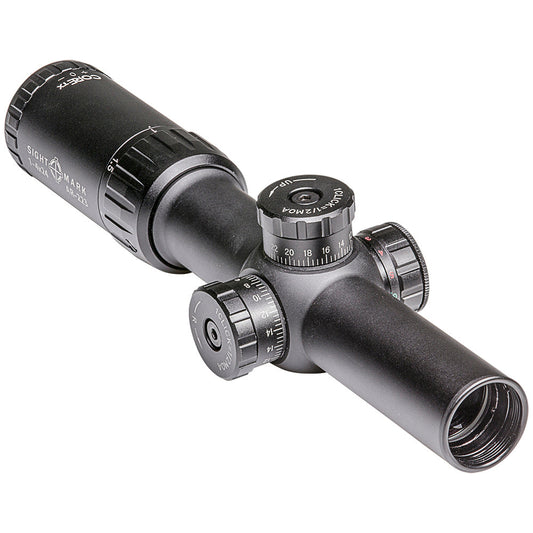
Install the upper halves of the rings over the scope. Tighten the screws in a criss-cross pattern to ensure even pressure. Use a torque wrench to tighten them to the manufacturer’s specifications, which vary according to the rings. The Sightmark Tactical Mounting Rings, for example, typically require around 19-22 inch-pounds of torque. This prevents overtightening, which could damage the scope tube.
Step 7: Check Alignment and Leveling of Your Rifle Scope
Double-check that the reticle is level and the scope is aligned with the rifle’s bore. To verify if your reticle is level, use a printed image of a grid and place it as level as you can on a wall opposite your optic. The horizontal and vertical lines on your crosshair should be perfectly aligned with the same lines on your grid.
Next, you need to level your optic. While there are many types of leveling kits available, one of the most common and effective tools is the bubble level. To use it, place the bubble level on the flat part of the scope’s turret cap and adjust the scope until the bubble is centered. Ensure the rifle itself is level by using a second bubble level on the rail or receiver. Small adjustments here can make a significant difference in accuracy, so take your time and make sure everything is perfectly aligned before moving on.
Step 8: Sighting In Your Rifle Scope
Once your scope is mounted, it’s time to sight in. Start at 25 yards to ensure you’re on paper, then move out to your preferred zero distance. For most hunting rifles, 100 yards is a common sight-in distance. Adjust the elevation and windage turrets to dial in your point of impact.
Final Thoughts: Achieve Precision with Your Mounted Rifle Scope
Mounting a rifle scope may seem complicated, but with the right approach, you can achieve a professional setup. Take your time, follow these steps, and you’ll enjoy greater precision and confidence on the range or in the field. Happy shooting!
To shop Sightmark riflescopes, click here.
Frequently Asked Questions
Why is safety important when mounting a rifle scope?
Safety is crucial when mounting a rifle scope to prevent any accidental discharge of the firearm. Always ensure the firearm is unloaded and keep the muzzle pointed in a safe direction throughout the process.
What tools are needed to mount a rifle scope?
Tools needed to mount a rifle scope include a torque wrench, screwdriver set, gun vise or rest, leveling kit, thread locker (optional), and cleaning supplies like degreaser and cloth.
How do I prepare my rifle for mounting a scope?
Clean the mounting surface of your rifle's receiver with degreaser to remove any oil or residue. Place the rifle in a secure gun vise and ensure the surface is level to achieve proper alignment.
What should I do if my rifle doesn't have a mounting base?
If your rifle doesn't have a mounting base, you may need to install one. This process may involve installing mounts, drilling, or tapping at a gunsmith to accommodate a base for your optic.
How tight should the base screws be when installing a scope base?
Use a torque wrench to tighten the base screws to the manufacturer's recommended torque settings, usually around 20-25 inch-pounds. Avoid overtightening to prevent damage to the screws or receiver.