Long-Range Shooting for Beginners, part 1

Long-Range Shooting
Every shooter remembers a time when they didn’t know the difference between MRADs and MOAs. Some of us once thought that second focal plane reticles were precise at all magnifications, while others mixed MOA reticles with MRAD scopes. Many of us had our dads, uncles, or some other experienced shooters show us the ropes, but if you had to figure everything out on your own by trial and error, this article is for you.


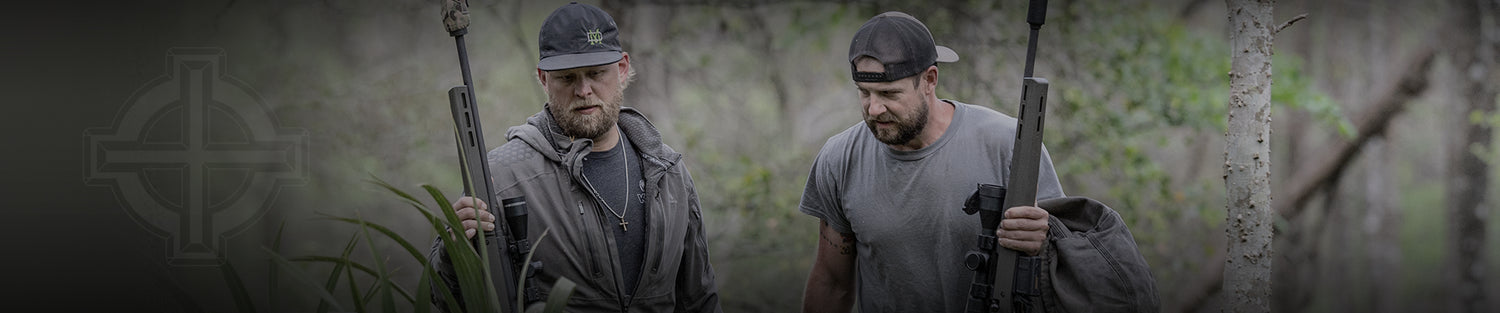
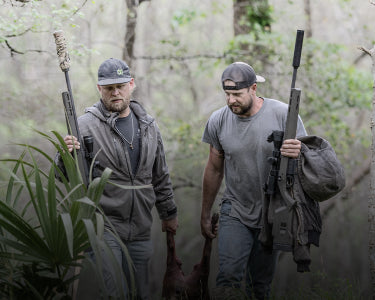
The objective of this experiment was simple – how much instruction would a novice scope user need from a master marksman before nailing a target at 500 yards? Since I live in North Texas, Extreme Tactics and Training Solutions in Waxahachie was the ideal place to conduct the experiment. Their vast range that went out to 1250 yards was perfect for throwing lead at the distances we were going for, especially since they allowed the freedom to shoot from prone.


I played the part of the pupil. While I am no stranger to the world of firearms, the concepts of long-range shooting were alien to me. The furthest I had ever shot was about 330 yards with an M16 in the Army, and even then, it was done with iron sights. By some act of God or the Army, no optic I was ever issued functioned the way it was supposed to. 


I had the great privilege of shooting with Cory West, a consultant for Accuracy International of AWM fame with a true passion for firearms, going so far as to design his own .300 Blackout round for self-defense. Cory’s long distance shooting skills had been forged in the fires of the Precision Rifle Series, a long-range shooting sport created for practical long-range hunting by long-range hunters. Only the best deer and elk hunters participate, engaging targets at known and unknown distances anywhere between ten to a thousand yards – just like they would on a real hunt. 


A critical component to the design of these long-range shooting competitions was the race against the clock. Sometimes, shooters had a minute and a half of stage time, but other times they had as little as 20 seconds.


The Gear


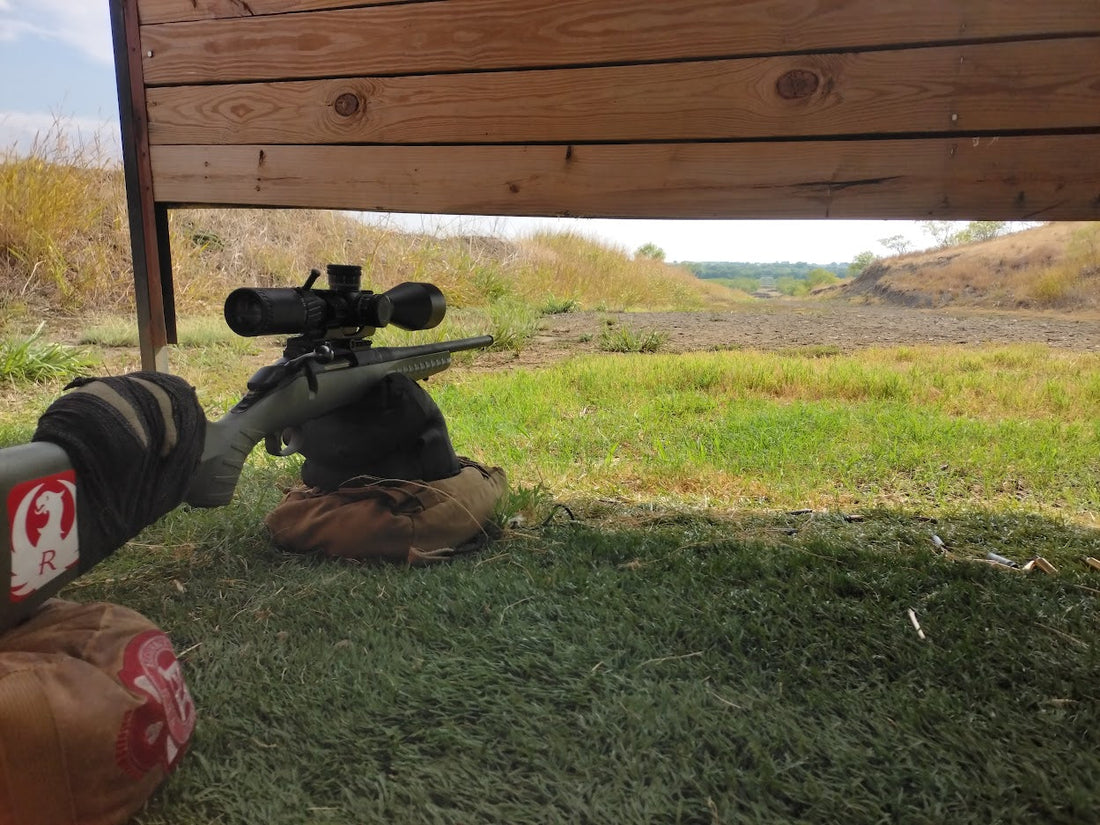
We used a completely unmodified Ruger American Predator chambered in .308 Winchester with an 18 inch barrel. Retailing for $599.00, the Ruger American exemplifies the quality and engineering by the storied manufacturer. Even with its factory features, the trigger was smooth and responsive. Initially, West was worried that the short barrel length and the rifle’s light weight would be a problem, but this article is not entitled “common long-range shooting mistakes.”


The optic we mounted was a Sightmark Presidio 5x30-56LR2. Even for a seasoned precision shooter like West, he found the glass clarity remarkable for a scope priced at $449.97, even going so far as comparing the resolution to other riflescopes he owns costing thousands of dollars. The .1 MRAD clicks were precise and loud, enabling near-surgical precision adjustments. The Presidio’s parallax adjustment was clear enough to show details far beyond 500 yards. 


As for ammo, we needed this to be a practical demonstration. While it’s realistic to see a deer 500 yards out, most people hunt with rounds that aren’t match grade. This is not to say that no hunter ever hunts with $2.50 ammo, but people like that tend to be the exception to the rule. Instead, we shot with Hornady’s American Whitetail .308 150gr, an excellent affordable hunting round.


Train As You Shoot


As a rule, West doesn’t shoot from a bench. The only real world hunting scenario where you would shoot from a sitting position would be if you were shooting from a blind. In scenarios like this, a Kopfjäger Ambush Support would provide more support than a blind’s windowsill, and its unique grip would hold any rifle steady hands-free just like a range vise. However, for many hunters out there who prefer to stalk rather than wait in blinds, the closest thing to support for their rifles would be a log or a tree stump, and those might vary in height, making shooting less than comfortable for those used to shooting on a bench.


Otherwise, when nothing is available for support, it makes more sense to shoot prone. The prone stance is the easiest way to achieve a stable position in the field without any equipment besides a rifle. West is a firm believer in the adage “train as you fight,” or in this case “hunt.” A hunter taking a prone stance in the field can set his weapon on a bipod for stability in the same way as he can on a range. Not only that, but West states that on a bench, you only have the mass of your torso absorbing the recoil of your weapon, while in a prone position, your entire body will provide much greater recoil absorption. This is why a weapon with a good bipod fired from prone will have much better follow-up than a weapon fired from a bench.


Checking Torque Values and Scope Mounting


Some people don’t consider scope mounts as important as the optics that sit in them. However, the reality is scope mounts are one of the many moving parts of the clockwork mechanism called long-range shooting. A scope mount needs rings to match the tube diameter of a particular scope, and when the bolts on a scope mount are tightened, it’s important to tighten them to the proper tolerance. Too loose, and the scope slides around in its rings; too tight, and they deform the tube and can even damage the lenses inside. 


To make sure tensions are within spec, West likes using Fix It Sticks. These toolkits were originally made for bicycles, but in recent years the company has transitioned towards the precision shooter market. When screws are tightened, West says it’s generally good practice to tighten the screws closest to the turret housing before working your way outwards. When a scope is mounted, it’s advisable to mount it as far forward from your individual eye relief as you can while being comfortable. We move the scope forward to both prevent scope-eye and to mitigate the effect recoil will have on the scope during firing. Newton’s second law of physics states “The change of motion of an object is proportional to the force impressed; and is made in the direction of the straight line in which the force is impressed.” This means since the rifle is going towards you, anything not part of the rifle itself will have the tendency to go forward, such as the scope. Mounting your scope forward will mitigate the effects of the weapon’s recoil and will thus allow decent follow-up shots. It’s also important to remember not all weapons are built the same. Some have rails only fit for scout scopes with very long eye relief, and others rely on proprietary mounts for scopes, which give little room for adjustment.


Scopes mounting
Setting up a scope for an individual is very important, especially if two shooters have different eye grades. Some adjust their scopes to make distant targets appear clear, but a good scope is supposed to marry to your eyeball rather than the target, since targets are set up at variable distances. The goal is to make the reticle look as clear and precise as you can. Numbers on reticles, especially first focal plane reticles at base magnifications, can be extremely hard to read. This is why reticle clarity is a priority. Aim for something white or at the sky so the contrast between the bright background and the dark reticle will be clear.


Bore Sighting


Some shooters are firm in the belief that bore sighting must be done with a laser. This is not always true with a bolt-action rifle. By simply removing the bolt and looking through the bore, you won’t have to worry about things like obscured, misaligned lasers or inconveniences like dead batteries.


During this exercise, we placed a target 100 yards downrange and moved around our bolt-less rifle until we could see the white steel of our target through the bore. As soon as we got the target aligned, we set up the rifle as steady as we could with sandbags and adjusted the rifle’s elevation and windage to match.


Our method was quick and dirty. Ideally, you would use a gun vise and a target with something like a red or orange dot as a central point, since it would be easier to distinguish in bright light.


Fundamentals


At long ranges, it’s important to maintain stability. A bipod would be the most realistic thing to shoot with, but sandbags and gun vises add additional stability if you merely want to make sure your weapon holds zero. A bipod should be mounted as forward on the stock as possible, as long as you can still reach the manipulating lever with your hand from your shooting position. When the weapon is at rest, its natural point of aim should be on target. You shouldn’t need to strain and readjust every time you fire. If you must lift your weapon slightly off the rest, this defeats the purpose of supported shooting.


According to the military, the most stable shooting is done from the prone supported position. This is because, in theory, it allows you to rest in position with the support of your entire body absorbing your weapon’s recoil. However, everyone’s prone is different. Some need one sandbag for support, others need three. Some require short bipods and others need them fully extended. Know what is comfortable for you. If you position yourself too low that your chest is flat on the ground and you have to bend your neck all the way up to see through your scope, you have made a mistake. The chest should be slightly off the ground so the rifle’s buttstock can nestle correctly into the meat of your shoulder. If you’re completely flat on the ground, the recoil would be absorbed by your trapezius instead. This will be painful for you, and bad for the accuracy of your shot.


Body positioning when coming up to your rifle is also important. After laying down your rifle, instead of approaching it from the side, approach it directly from behind. Come into a pushup position behind your weapon and drop down into prone. Your legs should be about 45 degrees apart to further help with the recoil. There are some who advocate bending one leg to slightly raise the body, but this position may be tiring after some time.


When shooting prone, you ideally brace with your elbows instead of your hand like you would if you were shooting from the standing or kneeling positions. The left hand, instead of holding the rifle by its forestock, should grab either the buttstock or the sandbags supporting it so change your point of aim. When resting your shooting hand, your trigger finger should be resting comfortably on your weapon’s trigger shoe. The finger should be rested on the meaty part of the tip of your finger, not the joint, and not the extreme tip. If your finger is too far back, there is a tendency to snap the trigger, making your shots go very slightly to the left or right – an error magnified at greater distances.


The author demonstrates an incorrect shooting position. Note the improper hand position and the disuse of the sandbag.

The author demonstrates an incorrect shooting position. Note the improper hand position and the disuse of the sandbag.

Cory West demonstrates a proper shooting position.

Cory West demonstrates a proper shooting position.

To make sure you’re comfortable with your trigger, try dry firing a few times to test your hand’s steadiness. Personally, I like to put a coin on top of my barrel and dry fire it to see how steady my trigger pull is. According to West, dry firing is like preparing for a date. You want to make sure everything is perfect before you actually make your move. However, on older classic firearms and antiques, dry firing might hurt the cocking piece if the firing pin isn’t hitting a primer. To mitigate this, snap caps are good for practicing dry firing. According to West, newer firearms and precision rifles are in no danger of being damaged from dry firing. Even on his own rifle, he says that for every live round that goes through his rifle, his trigger is dry fired at least three times.


A common mistake people make is to remove their eye from the scope to cycle their weapon Once the weapon is properly set up, try not to take your sight picture off the scope if it can be avoided. The Presidio’s eye relief was relatively close for me, so it was important to remember to place my eye far enough from it to avoid getting scope-eye. Fortunately, with the clear image, losing focus was rarely a problem. When shooting a bolt-action rifle, keep your cheek welded to the stock and keep looking down the scope after your shot is fired instead of looking over the scope to see what you just shot at. After all, you’re looking through a magnified scope. What good would it do to observe your target with the naked eye?


Shooting


Experienced shooters always remember to breathe before they shoot, and instructors always repeat this to their students. In prone shooting, breathing adds another element because of the rise and fall of your chest. Breathe in, breathe out, and relax when your chest stops falling. You have about three to five seconds to shoot before your chest rises again. When you fire, you should not anticipate the noise or recoil of your weapon. Time and time again, new shooters have been told to squeeze not jerk the trigger. Jerking the trigger has the tendency to flinch your firearm, so squeezing the trigger with consistent force without knowing exactly when the “bang” is going to go off is a good practice for new shooters.


When firing your first shot, it’s best not to shoot at maximum magnification. During our experiment, the Presidio’s throw lever made it easy for me to transition between low magnification to maximum power. While you might want to have a good look at your target, there is a chance that your shots might not land on paper. If your magnification is zoomed all the way in and you happen to hit the berm, there is no way to tell where your shot landed. Instead, try to zoom out so you can make the appropriate adjustments just in case your shot kicks up dirt instead of landing on paper. If your zero is off, avoid giving into the temptation of immediately adjusting your elevation and windage. You may get into the “chasing your tail” scenario where your adjustments are following an approximation of where you shot, leaving your target pockmarked. Instead, fire a group of three or more to be certain that your shot wasn’t merely shooter error, then make adjustments based on that group instead of a single hole.


Ballistic Coefficient


The ballistic coefficient of a cartridge is how it overcomes air resistance in flight. There are two main types of ballistic coefficient: G1 and G7. G1 is generally used for flatter bullets like pistol or repeater rounds, while G7 is used for modern rifle rounds like 5.56x45mm and .308 Winchester. Therefore, it follows that G7 would be used to calculate the ballistic coefficient for long range rifle rounds. Why is this important? Ballistic coefficients are used in ballistics calculators to take some of the human error out of adjusting elevation and adjustments. Hornady has a free mobile app called 4DOF which takes several variables into account such as muzzle velocity, zero range, sight height, barrel twist, wind speed and others to give you the exact number of clicks you need to make on your turrets to hit your mark at any distance.


Click here for part two of this article: the actual shooting experience!


Previous
Living and Leaving: It’s all About a Legacy
POSTED BY Globe Runner ·
Read more
Next
Long-Range Shooting for Beginners part 2
POSTED BY Globe Runner ·
Read more

Leave a comment

Please note, comments need to be approved before they are published.